
This week I've been thinking about some of the things that I love most about this time of the year. As stressful as it can be sometimes, its really nice to think that we spend a whole month (or perhaps more) searching for gifts for the ones we love, writing cards to wish them a joyful season and making plans to spend quality time with them. The world around you becomes a festive, warming and happy place even in the midst of a dreary winter. It's a time that allows us to stop for a moment and show how much we appreciate those around us.
Other than my amazing husband, family and friends, here are some things I've been loving this season:
Things I love this Winter...

(From Left to Right)
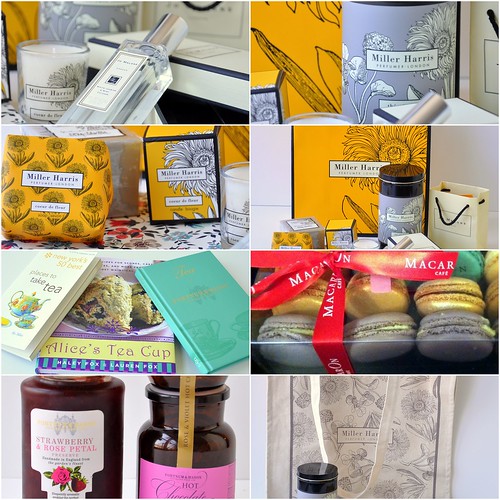
Trader Joe's bags as gift wrap, Laduree Chestnut & Pear Macarons, Peyton & Byrnes British Baking, Sophie Dahl's From Season to Season, Miller Harris's Violette Tea, Cath Kidston's Bon Bon Stripe Pyjamas, NYC Ballet's The Nutcracker, The Rockefeller Christmas Tree NY, She & Him Christmas album, Episodes of New Girl, Kate Spade's Holiday Gift Guide, Trader Joe's chocolate advent calender.
Trader Joe's bags as gift wrap, Laduree Chestnut & Pear Macarons, Peyton & Byrnes British Baking, Sophie Dahl's From Season to Season, Miller Harris's Violette Tea, Cath Kidston's Bon Bon Stripe Pyjamas, NYC Ballet's The Nutcracker, The Rockefeller Christmas Tree NY, She & Him Christmas album, Episodes of New Girl, Kate Spade's Holiday Gift Guide, Trader Joe's chocolate advent calender.
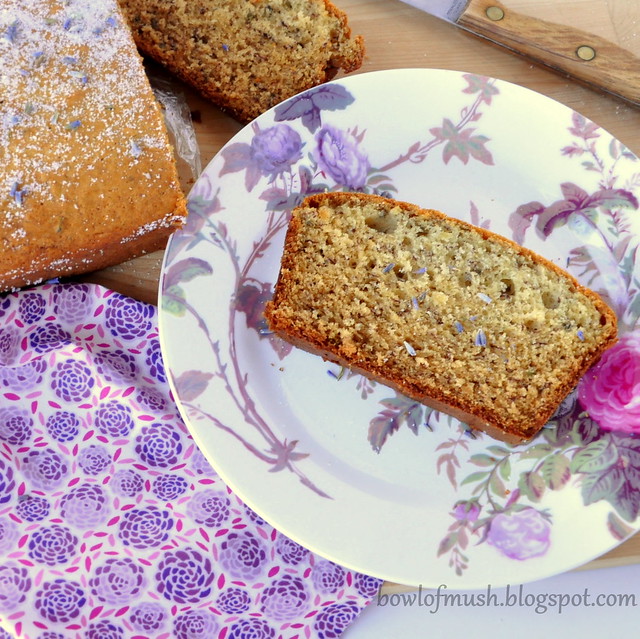
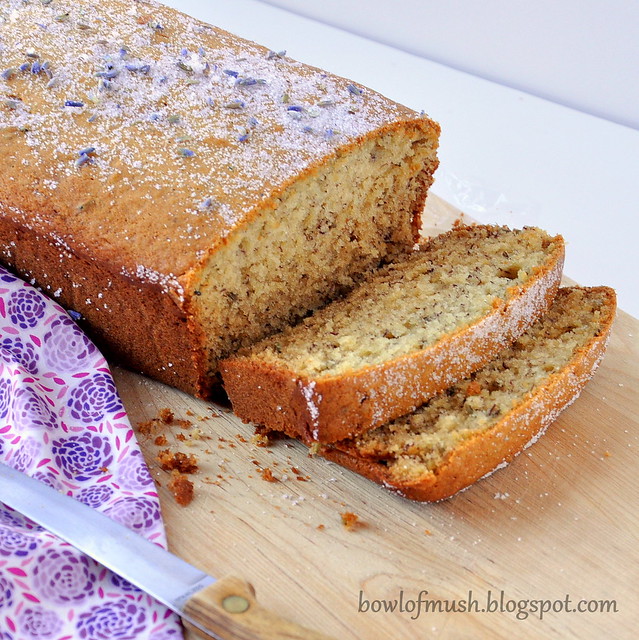
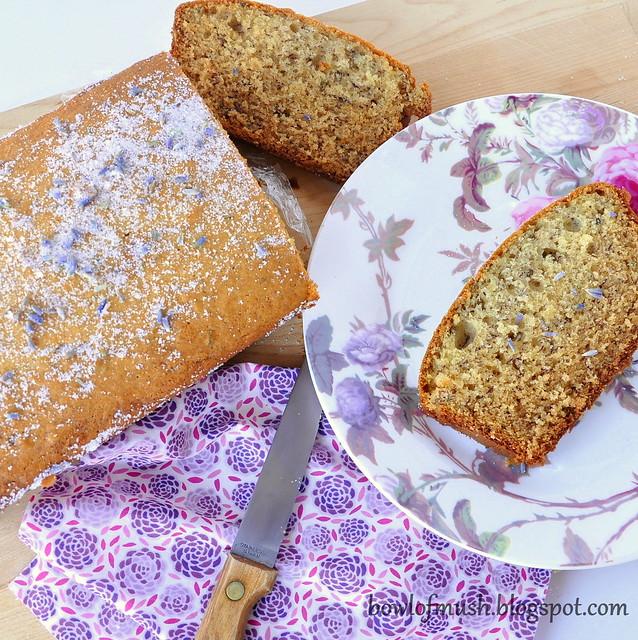
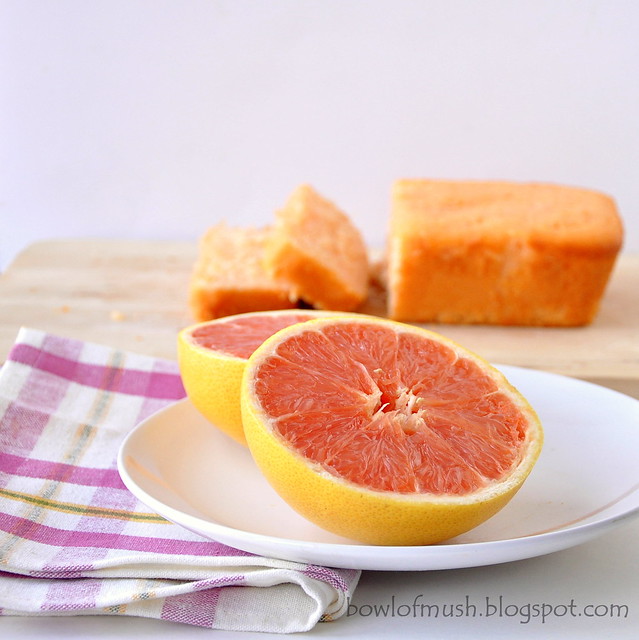
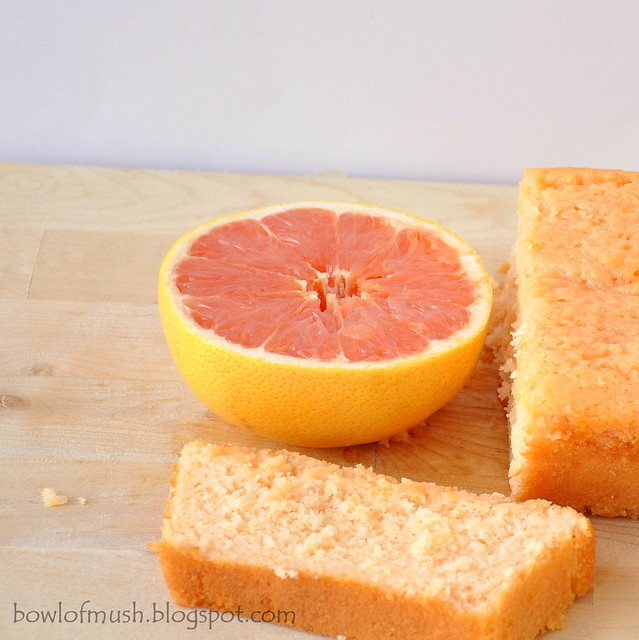
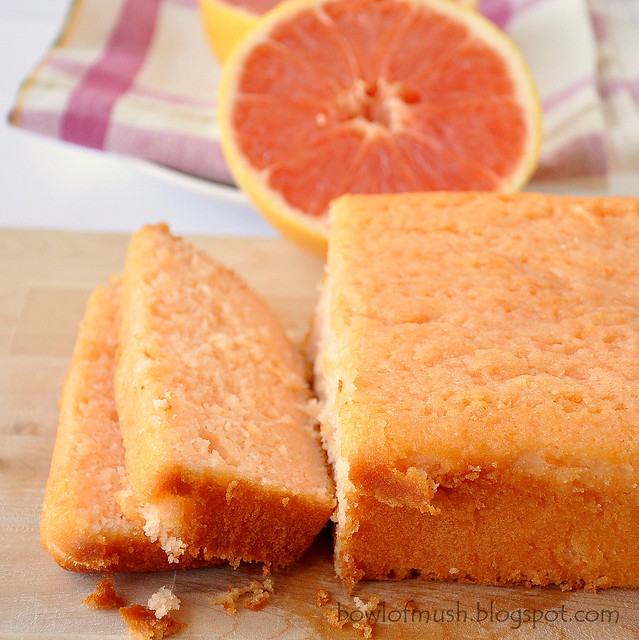
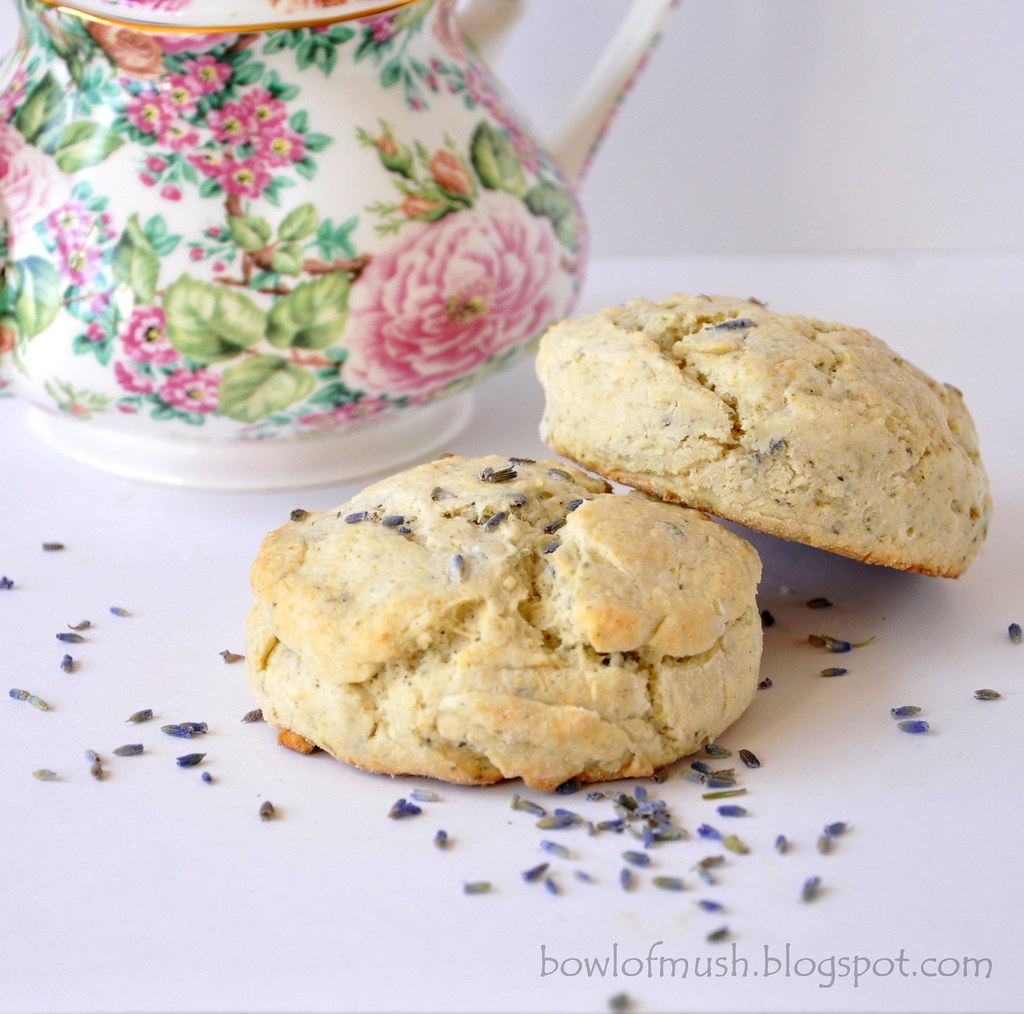
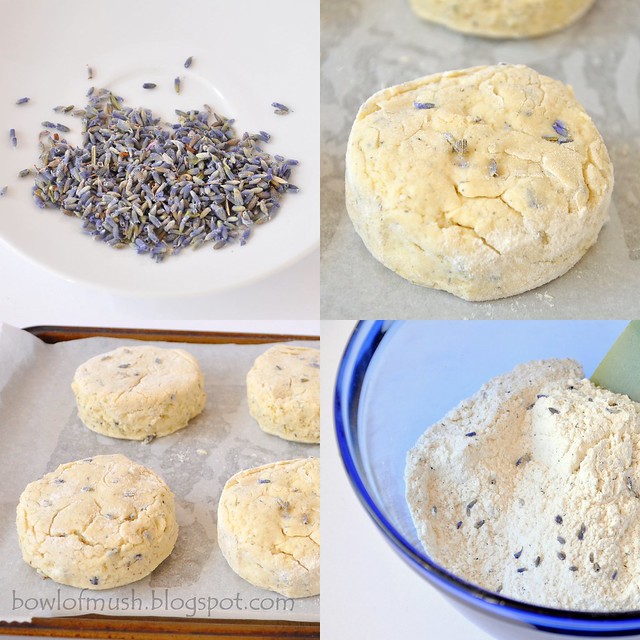
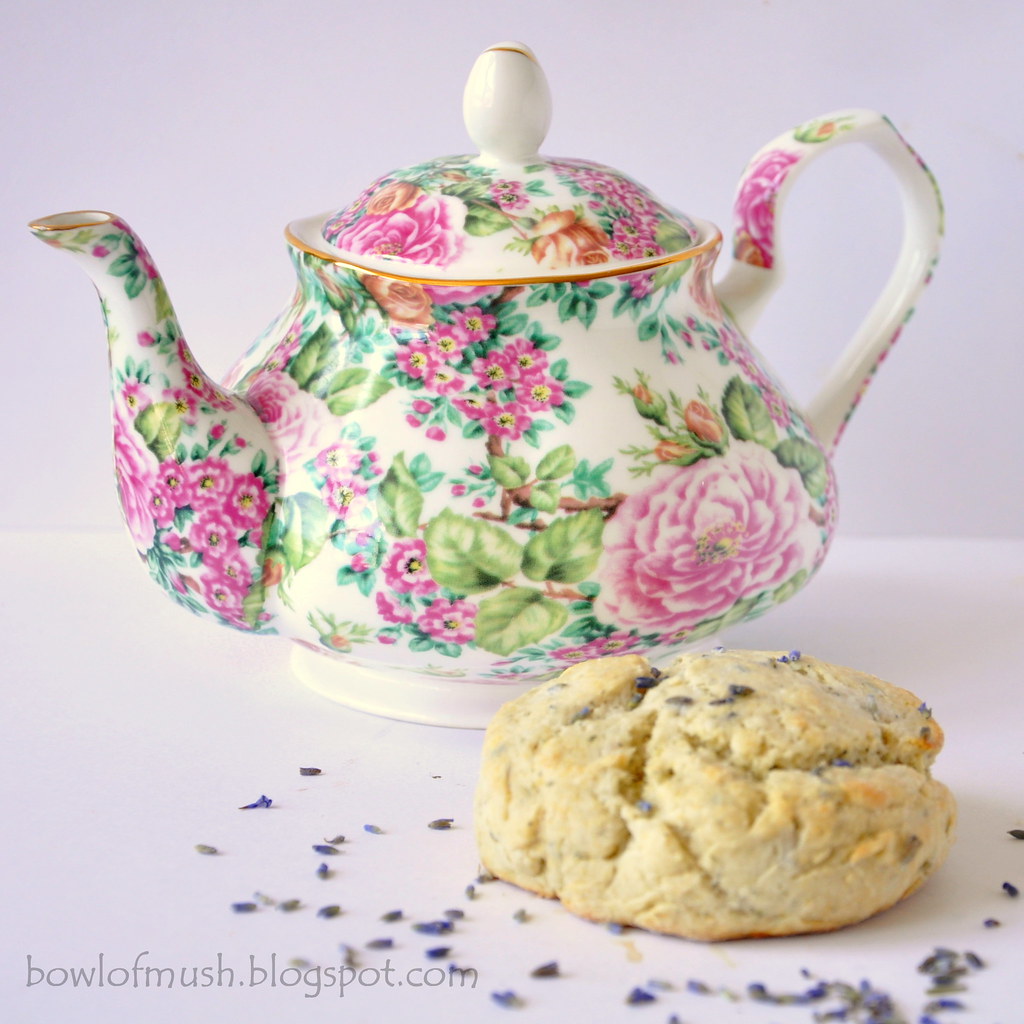
This Lavender Banana Bread also makes the list. I really don't think I can go back to making regular banana bread now after having this one. It really is one of the best things I've ever eaten.
(makes 1 loaf)
- * 3/4 cup Lavender Sugar (plus extra for sprinkling)
- 1/2 cup butter (softened)
- 2 eggs
- pinch of nutmeg
- 1/2 tsp vanilla extract
- 2 bananas mashed
- 2 cups all purpose flour
- 1/4 tsp salt
- 1 teaspoon baking soda
- 1 teaspoon baking powder
- 1/4 cup milk
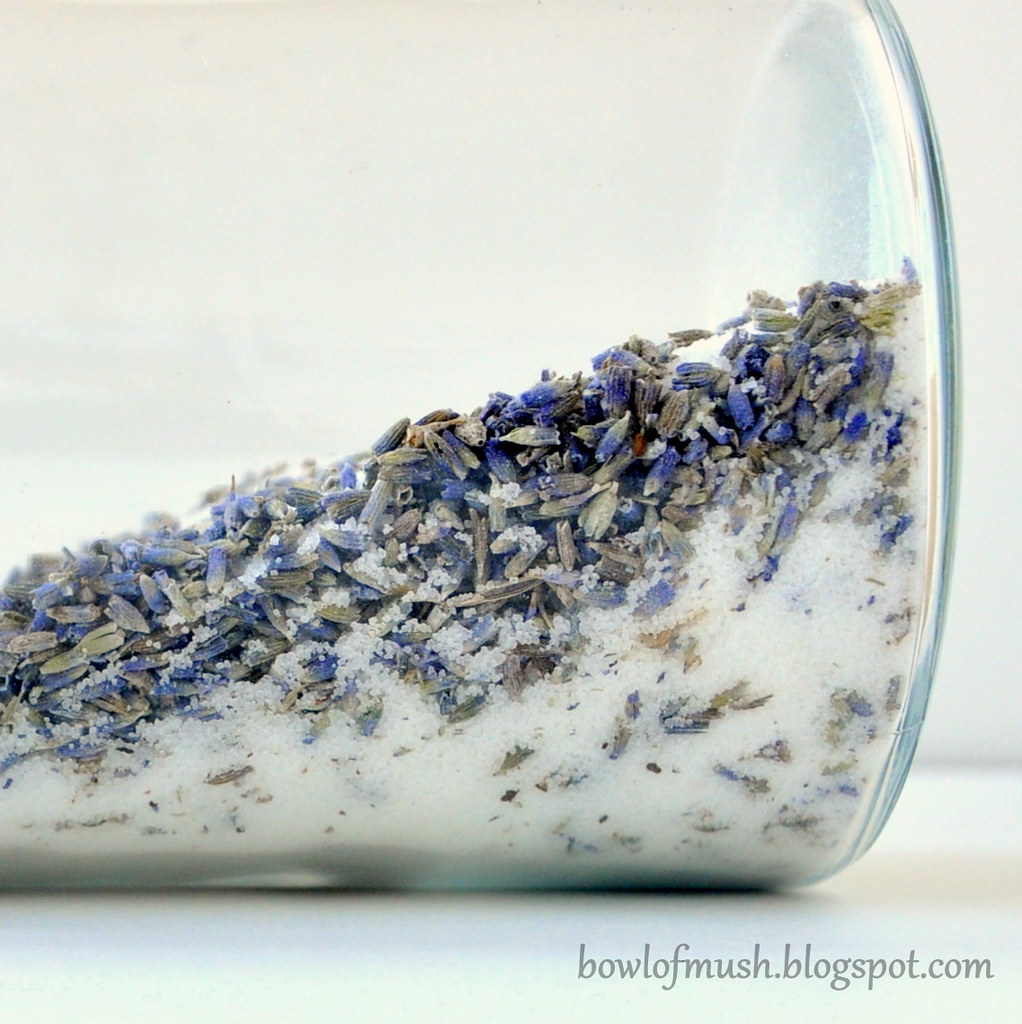
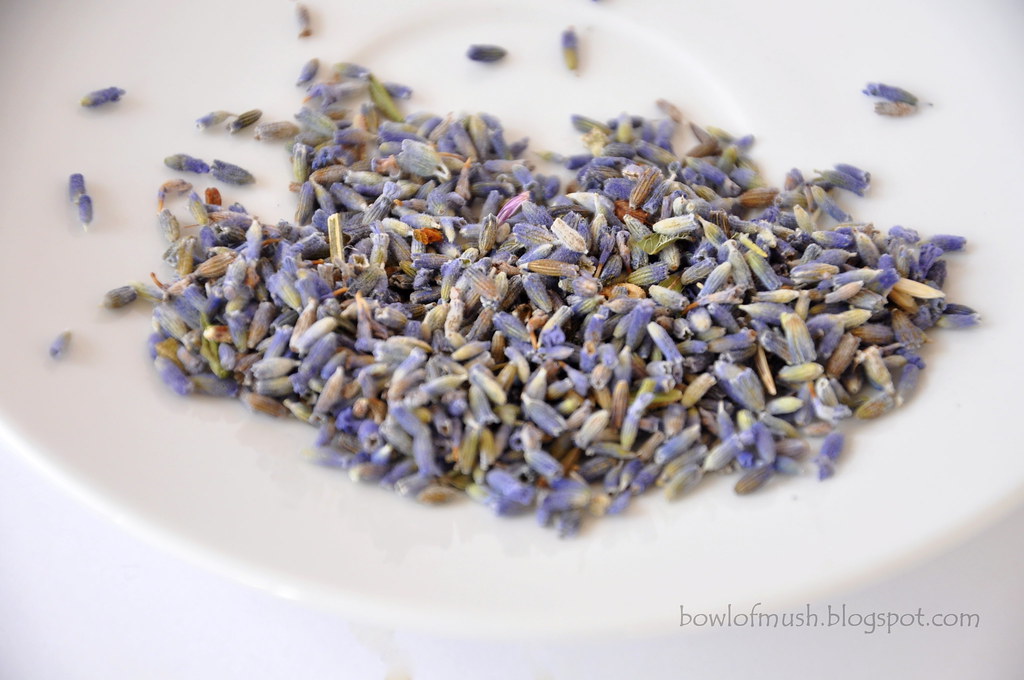
* For the Lavender Sugar, mix white granulated sugar and dried lavender buds in a jar. For every cup of sugar add a 1/4 cup of lavender.
Seal and store for 1-2 weeks, shaking now and again. (If you don't want extras then just make enough lavender sugar for this recipe).
 Preheat the oven to 350F
Seal and store for 1-2 weeks, shaking now and again. (If you don't want extras then just make enough lavender sugar for this recipe).
Preheat the oven to 350FIn a large bowl cream together the butter and lavender sugar (I didn't sieve the lavender buds out).
Add the eggs, vanilla extract and nutmeg, beat well.
Add the mashed bananas, mix well.
Fold in the flour, baking powder, baking soda and salt and mix just enough until well combined.
Line a loaf tin with parchment paper and add the mixture to it.
 Bake at 350F for 1 hour (or until golden and a skewer comes out clean.)
 When removed from the oven, sprinkle the top of the bread with more lavender sugar.
Allow to cool on a rack. Enjoy with a cup of tea :)
To see what else I'm up to, follow me on Twitter, Pinterest and Instagram


